“Houzillo” Documentation by “Amentotech”
“Houzillo”
Created: 24/02/2020
By: Amentotech
Email: theamentotech@gmail.com
Thank you for purchasing our theme. If you have any questions that are beyond the scope of this help file, please feel free to email via my user page contact form here. Thanks so much!
Table of Contents
- Download
- General Settings
- Header Settings
- Registration Settings
- Property Settings
- Header Settings
- Title Bar Settings
- Footer Settings
- Typography Settings
- Styling
- Social Sharings
- Directory Settings
- Payment Settings
- API Settings
- Email Settings
- Coming Soon
- Page Options
- Post Options
- Change Log
- Articles
Download - top
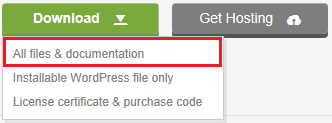
Upon downloading the zip package file from Themeforest, you'll have all files you need inside. Zip package contains the following files and
- houzillo.zip contains the theme
- houzillo-child.zip contains the child theme
- documentation folder (It contains documentation for the theme)
- plugins.zip include required and recommended plugins. Plugins are also prepacked in the theme.
To install this theme you must have a working version of WordPress already installed. For more information regarding installing the WordPress, please visit below mentioned URL
Installing WordpressWhen you are ready to install a theme, you must first upload the theme files and then activate the theme. For this purpose, unzip the file that you downloaded from themeforest and there you would find the (houzillo.zip) file and upload it via WordPress installer. The theme files can be uploaded in two ways
Installation - top
WordPress Upload
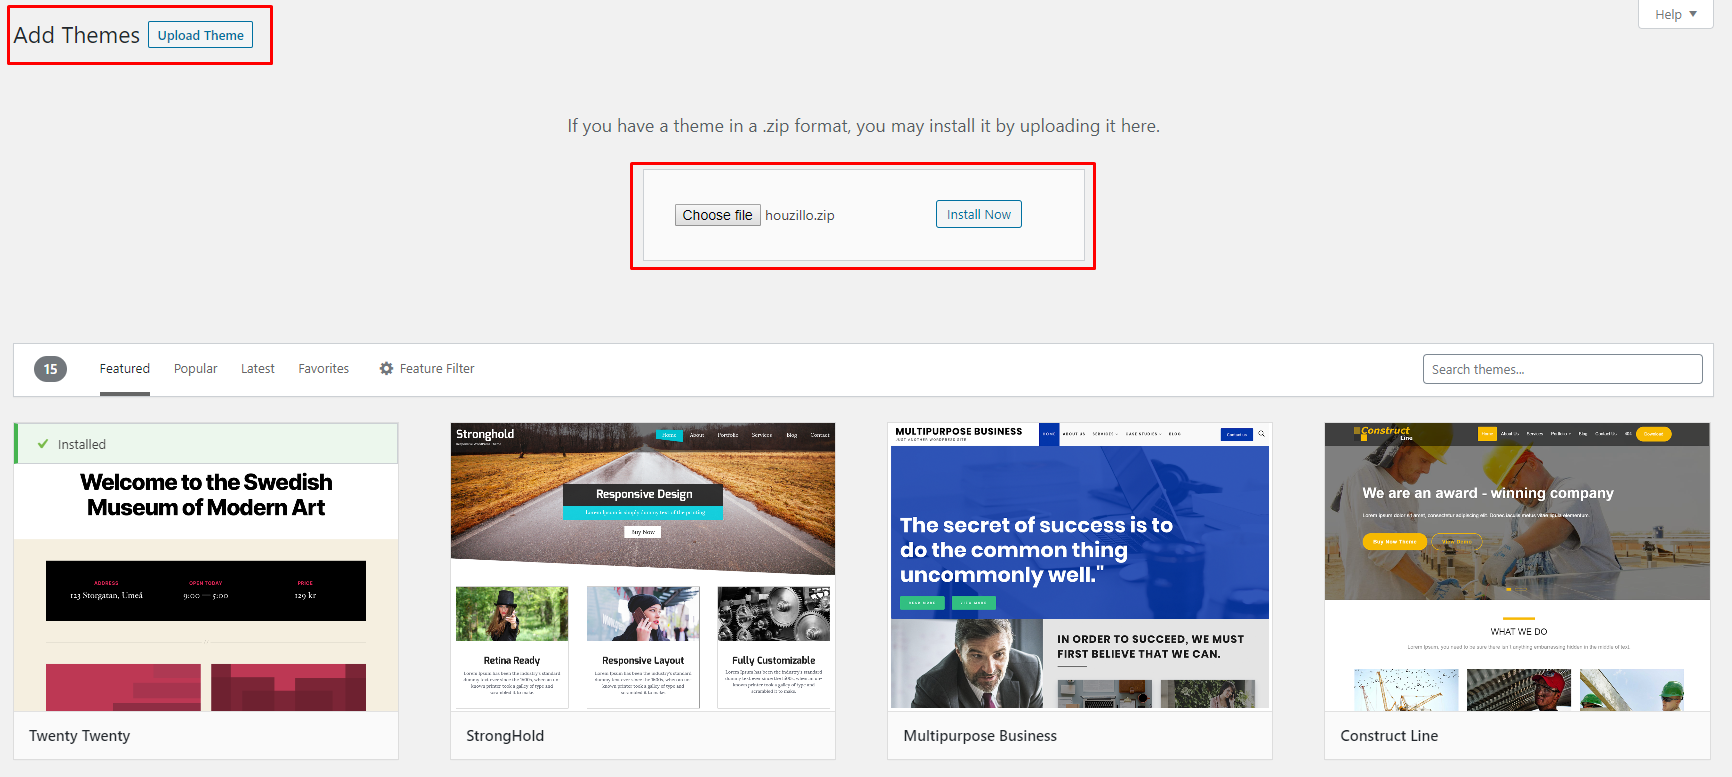
- Navigate to Appearance > Themes
- Click Add New button and finally hit the Upload Theme
- Click on Choose File and find the "houzillo.zip" file on your computer and click Install Now button
- The theme will be uploaded and installed.
- For Activating the theme, Go to Appearance > Themes and activate the installed theme
After Installation and activation of houzillo theme you will be redirected to the plugin install page.
Plugin Installation
- Houzillo Core (houzillo_core.zip) Required
- Houzillo Cron (houzillo_cron.zip) Required
- Redux( Theme Settings Framework ) Required
- Elementor( For page builder ) Required
- Unyson Optional Important: Please deactive Unyson plugin after demo content import. This plugin is only to import demo contents
- Loco Translate Optional
You don’t need to download those plugins yourself.
Click on Begin installing plugins and
simply select all plugins and install them.
Then activate the plugins with help
of Bulk action: 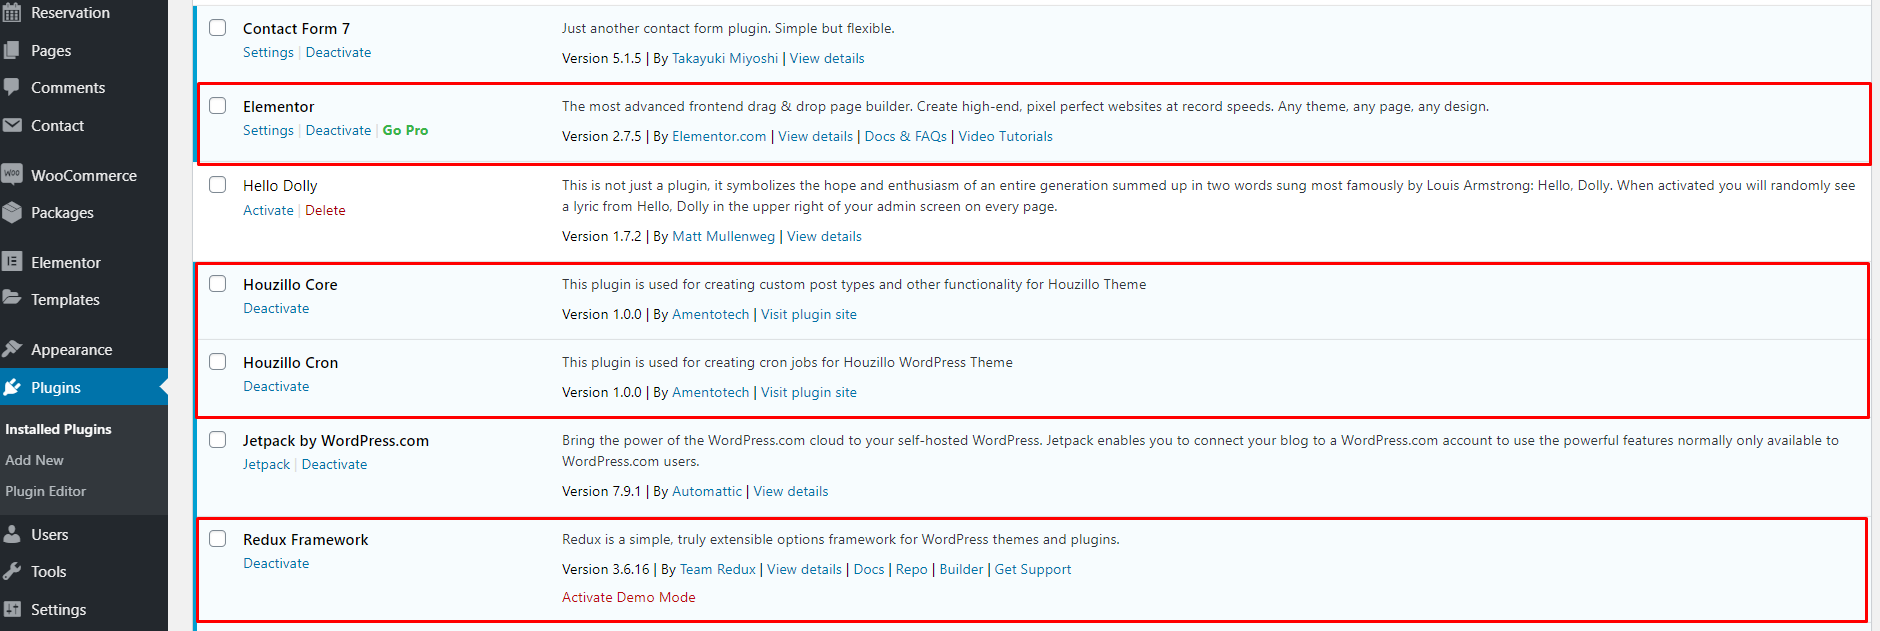
Things you need to check to make demo installer work: Go to unyson, take a look
to compatible extension, you will see "Backup & Demo Content extension.
Click on yes "install the compatible extensions". 
Import Demo Contents
Before importing demo content, please make sure your server meet minimum server requirements to work smoothly with houzillo theme.
- PHP Version Should be > 7.0
- PHP Zip extension Should be = Installed
- max_execution_time = 300
- max_input_time = 300
- memory_limit = 512
- post_max_size = 100M
- upload_max_filesize = 100M
- Node.js for realtime chat
At this point theme, plugins and required extensions should be installed. To import demo content just follow below mentioned process.
Step 1: Now Go to Admin » Tools » Demo Content Install and you'll see something like shown below. 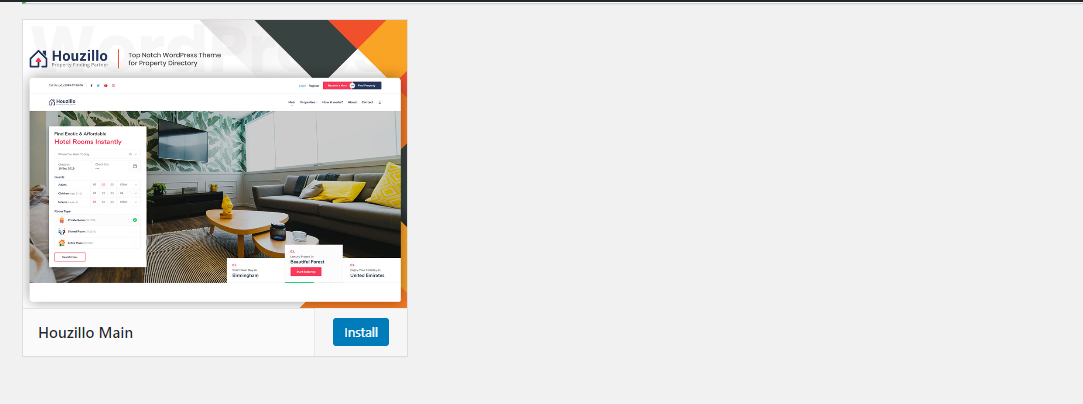
Just click on install button and wait for demo content importing process.
Step 2: Now Go to Properties » Import User section and click the "Import Dummy" button .Now,wait for demo users import process. 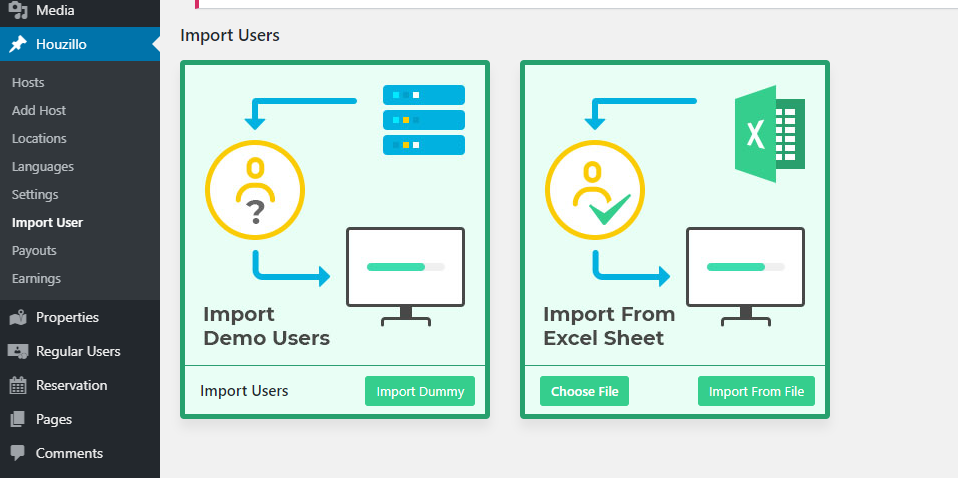
Congratulations!
Important: please deactive Unyson plugin which is no longer needed. This plugin is only to import demo content.You’ve setup your theme and ready to go
Import Users in Bulk
Importing for bulk users (host users and regular users) need to creat a csv file with the following formates :
- user_id : It is optional field.If assigned user_id is availabe then it assign.
- username : It is required field.It should be sanitize.please use without space and special character.
- first_name : It is optional field.
- last_name : It is optional field.
- user_nicename : It is optional field.
- display_name : It is required field.
- show_admin_bar_front :It is required field. It should be FALSE.
- role :It is required field. It should be Host or Regular User.
- tag_line :It is optional field.
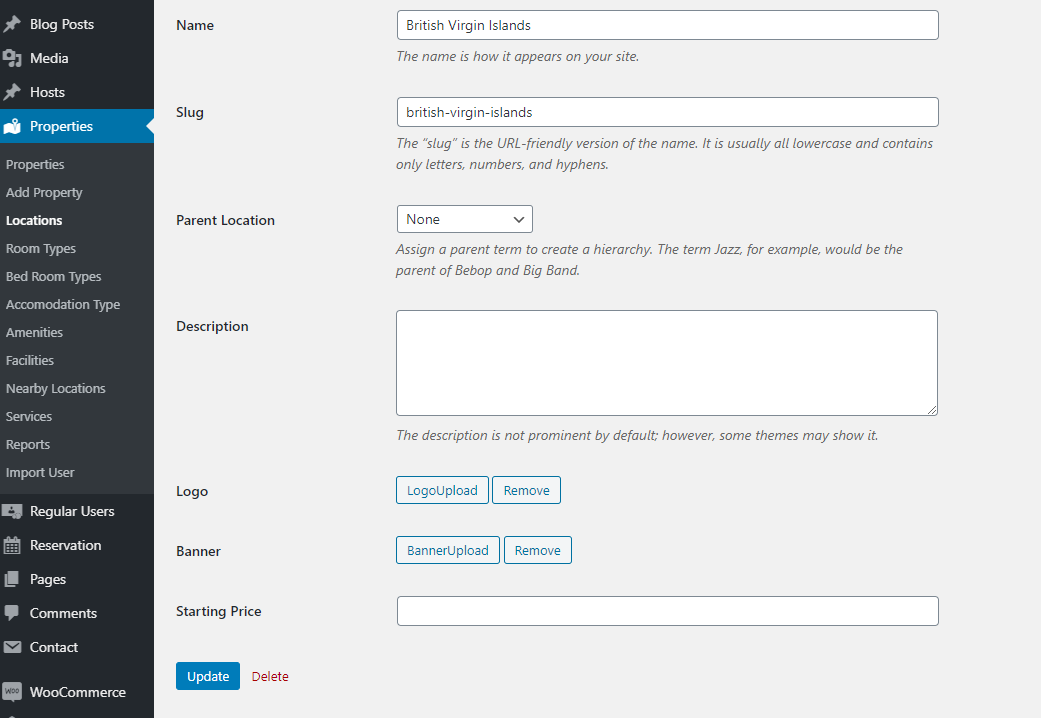
- country : It is optional field. First you need to add countries in Admin > Houzillo > Locations and copy the slug of location.
- address :It is optional field.
- latitude :It is optional field.
- longitude :It is optional field.
- profile_image_id :It is optional field. Upload the image in Admin > Media and get the image id.

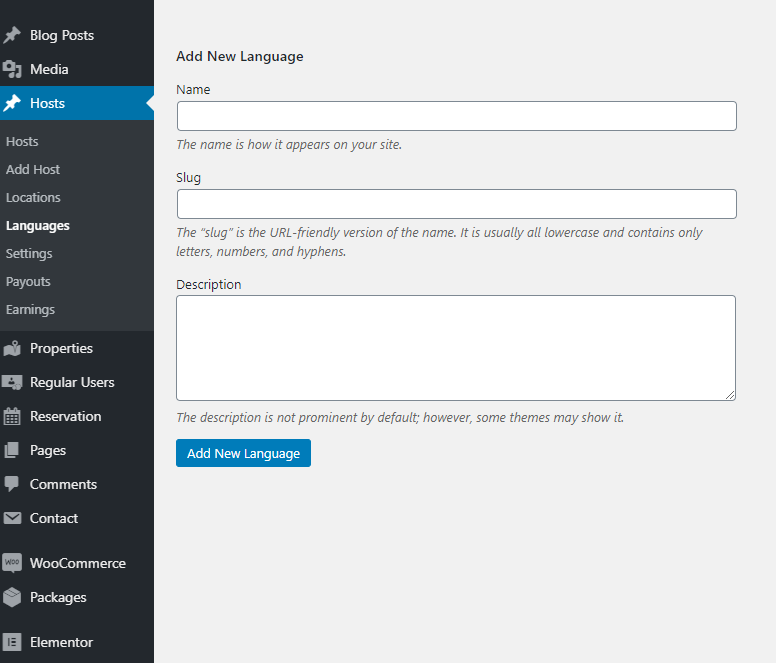
- languages :It is optional field. First you will need to add Language in Admin > Hosts > Languages and copy the slug of language.To add multiple Languages we use comma(,) seprated.
- content :It is optional field.
- short_description :It is optional field.
General Settings - Top
For theme general settings you have to install the redux framework plugin.
General Settings of the theme includes
- Preloader - (Either you want to display on site load or not.)
- Preloader Type - (Choose Custom if you want to upload your own image as preloader.)
- 404 Title, it will display at 404 page.
- 404 SubTitle, it will display at 404 page.
- 404 Description, it will display at 404 page.
- Ads Section for user dashboard. It will display add under the user dashboard menu.
- Profile section includes the default profile placeholders for the users. Users can choose image from the gallery in the dashboard.
- Default image loader is used when user uploads image in the profile settings, this will be the default loader.

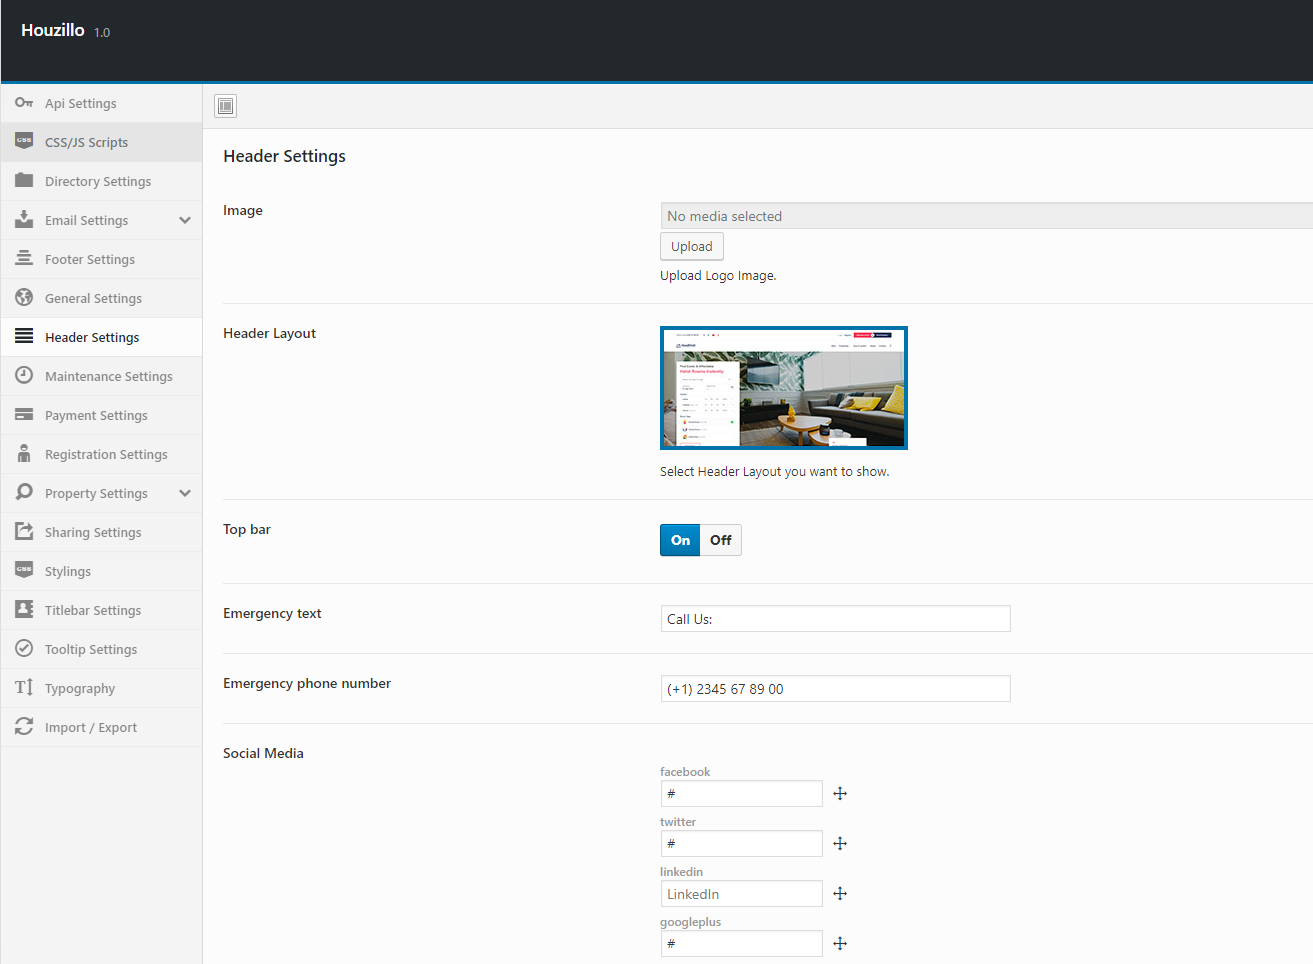
Header Settings- Top
Header settings have the following options.
- Upload header logo.
- Select the header type
- Add emergency phone number.
- Add emergency text.
- Add social media icons.
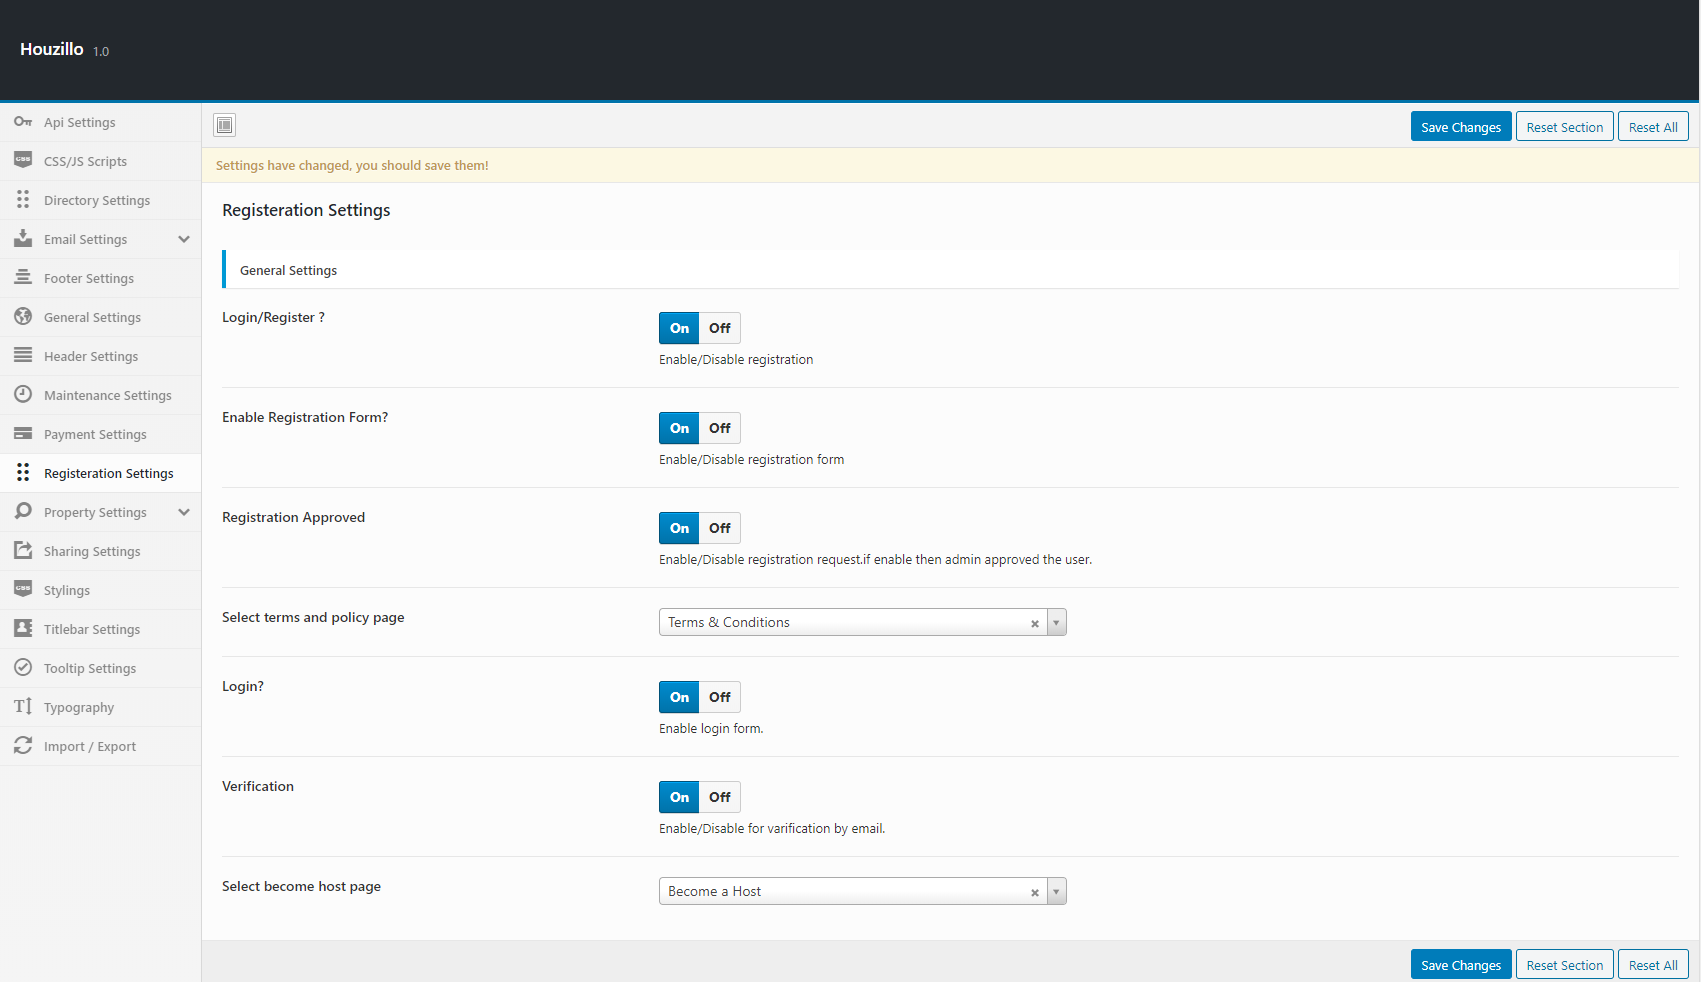
Registration Settings- Top
Registration settings have the following options.
- Enable/Disable login or registration.
- Select become host page. Select the page, which has been assigned "Become Host" page template.
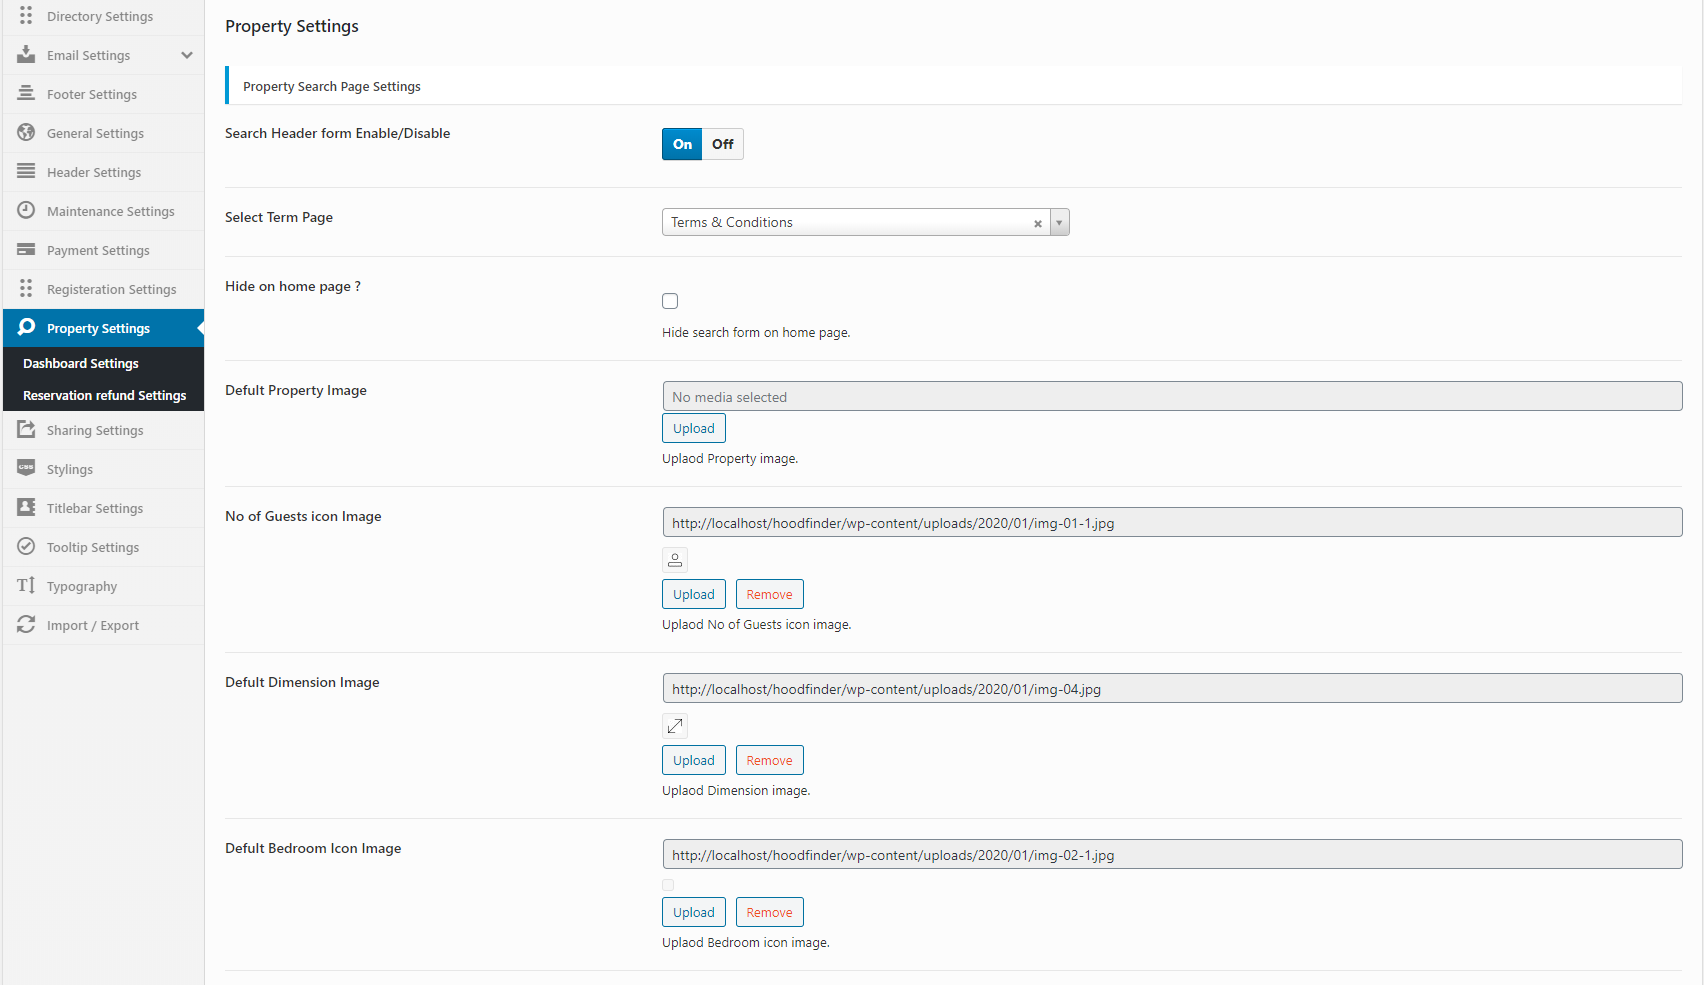
Property Settings- Top
Property settings have the following options.
- Property settings includes the property search page settings. If you want to enable/disable the search form on property search page.
- It includes the property dashboard settings, where you can mange dashboard settings for a property.
- It also includes the reservation refund settings, where you can mange refund options for a property.
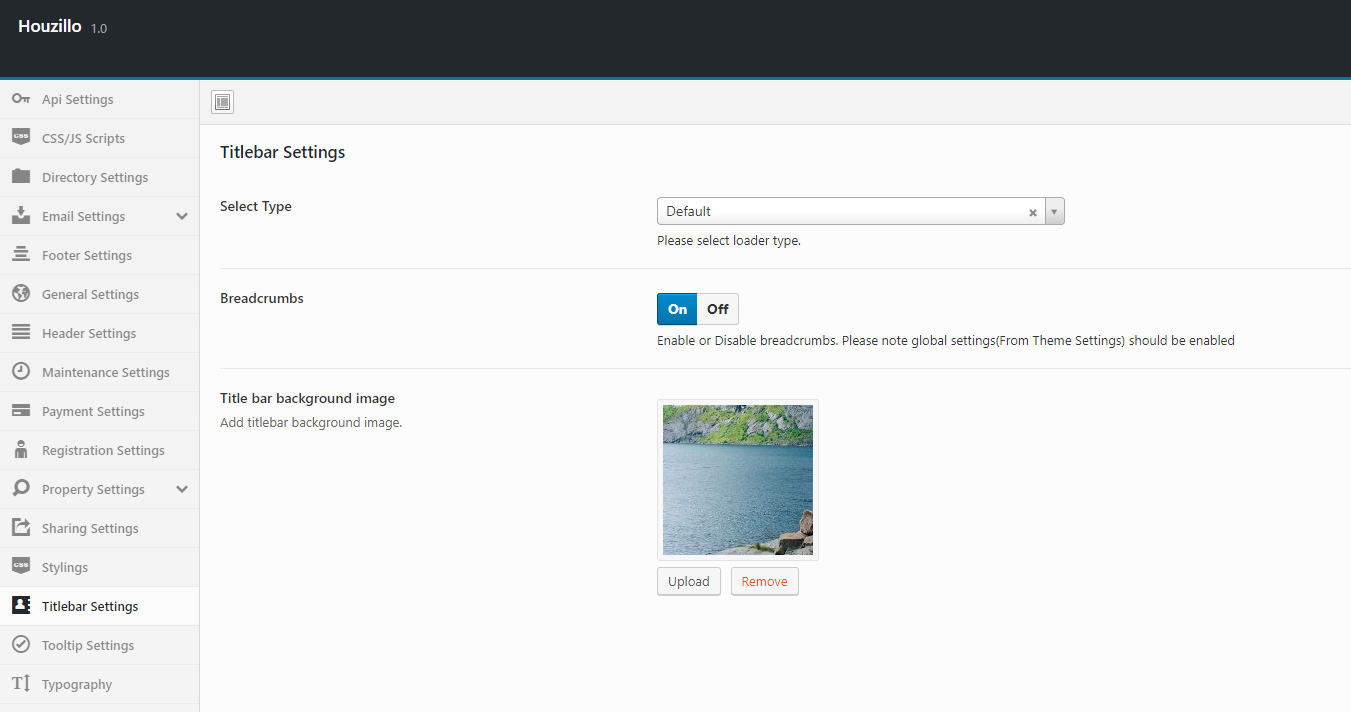
Title bar Settings - Top
- Select the Title bar Type to hide it or default is to show.
- Enable or disable the Breadcrumbs. (Note : global settings should be enabled)
- Select the background image of the title bar or leave it empty if you want default title bar.
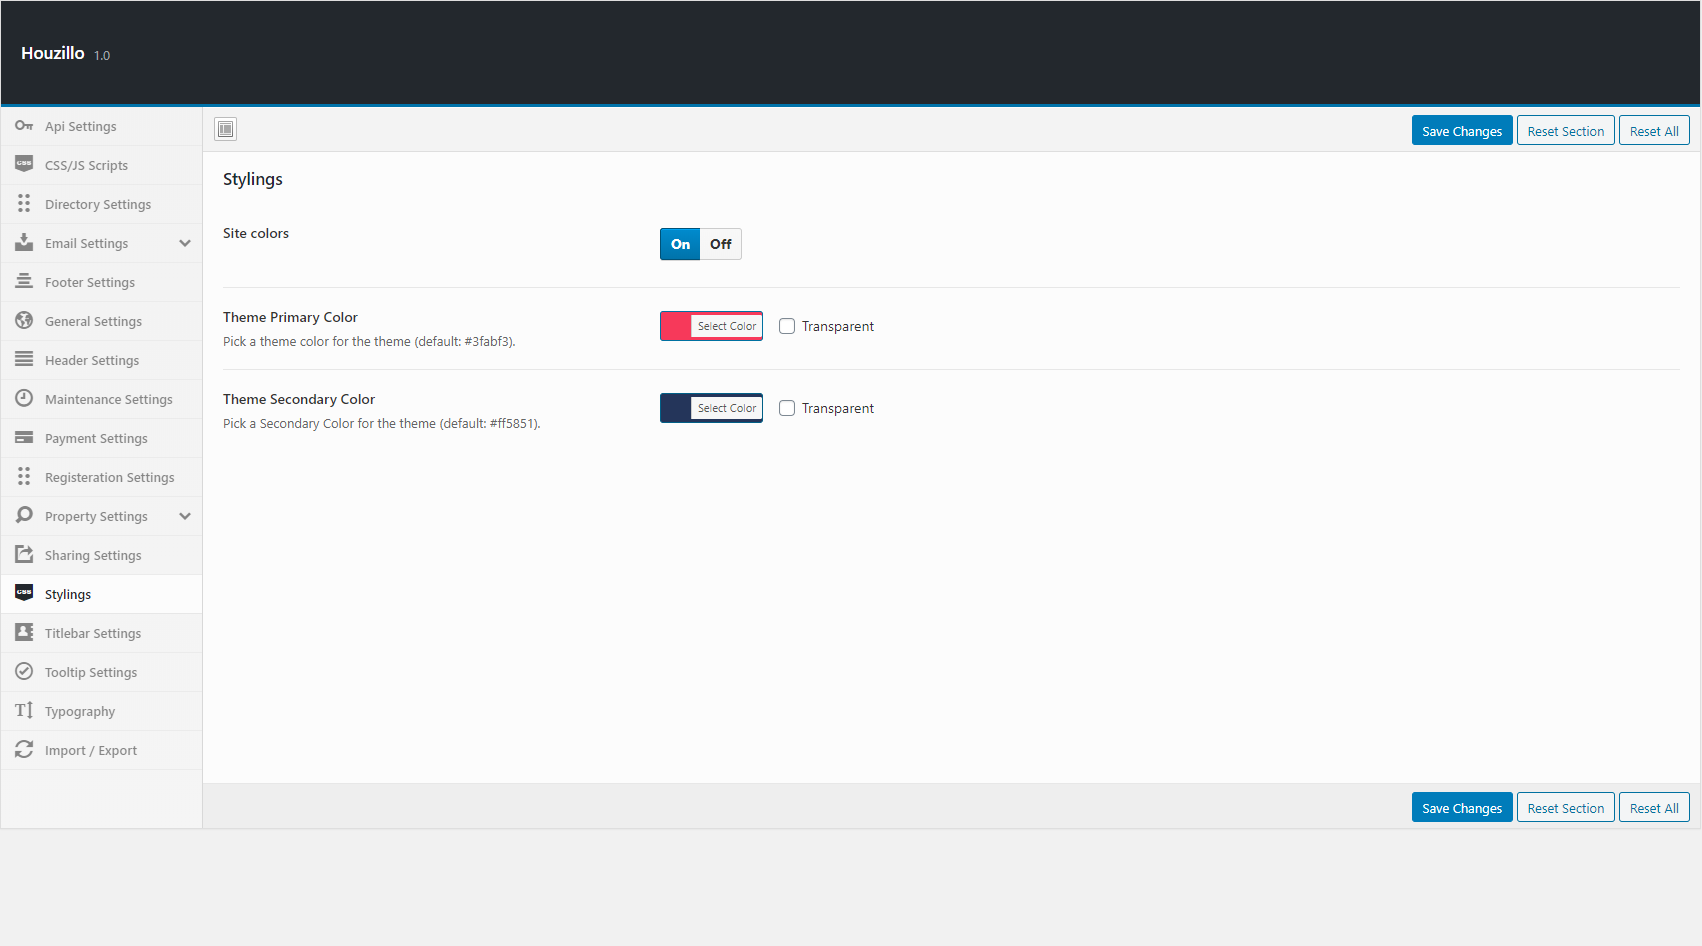
Styling - Top
- You can add your dynamic color here. This will be the base color of your site.
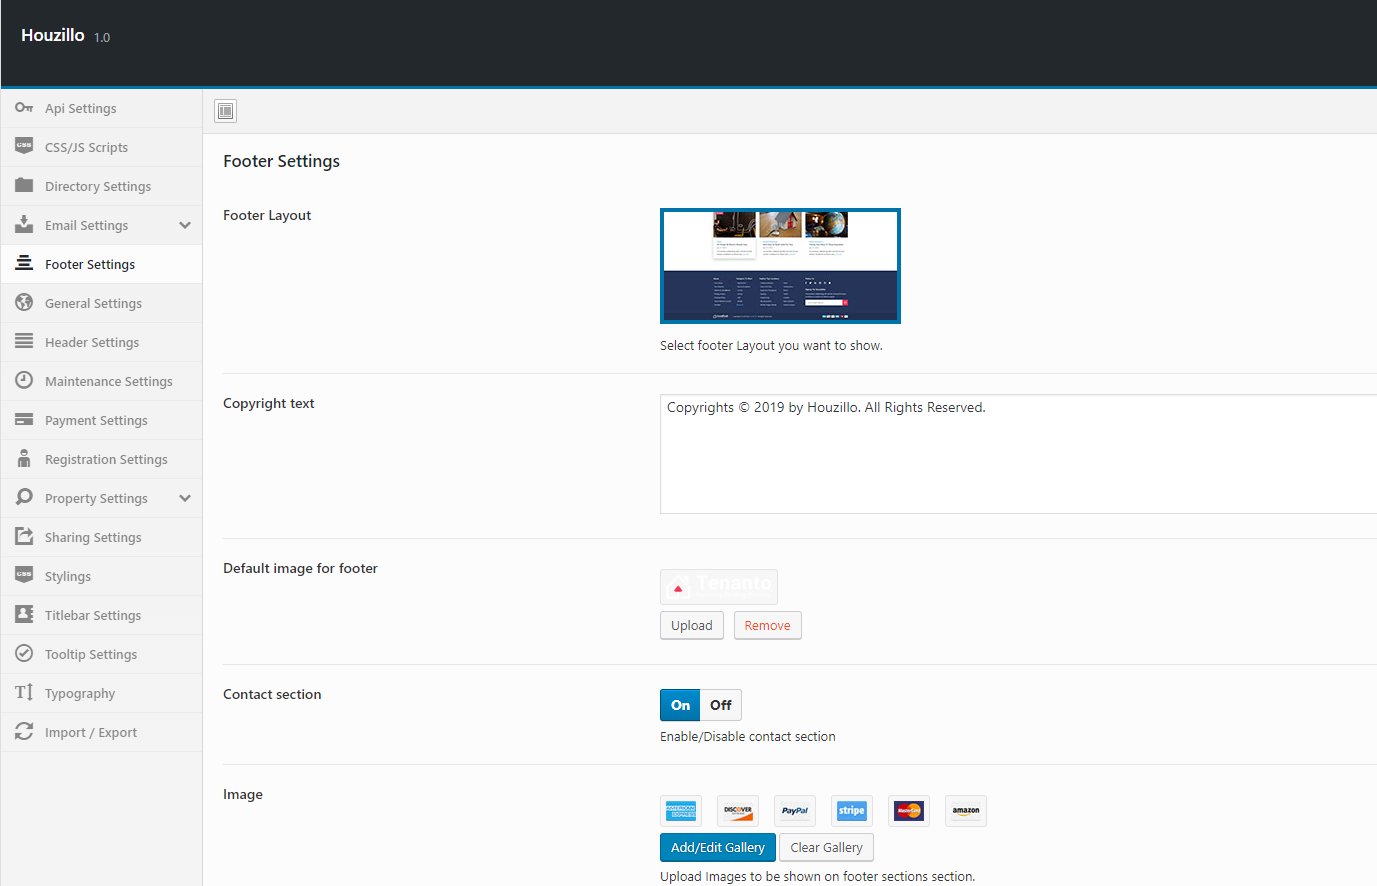
Footer Settings - Top
Footer setting have the following options
- Select a footer layout
- Add copyright text
- Add footer logo
- Enable or disable social icons.
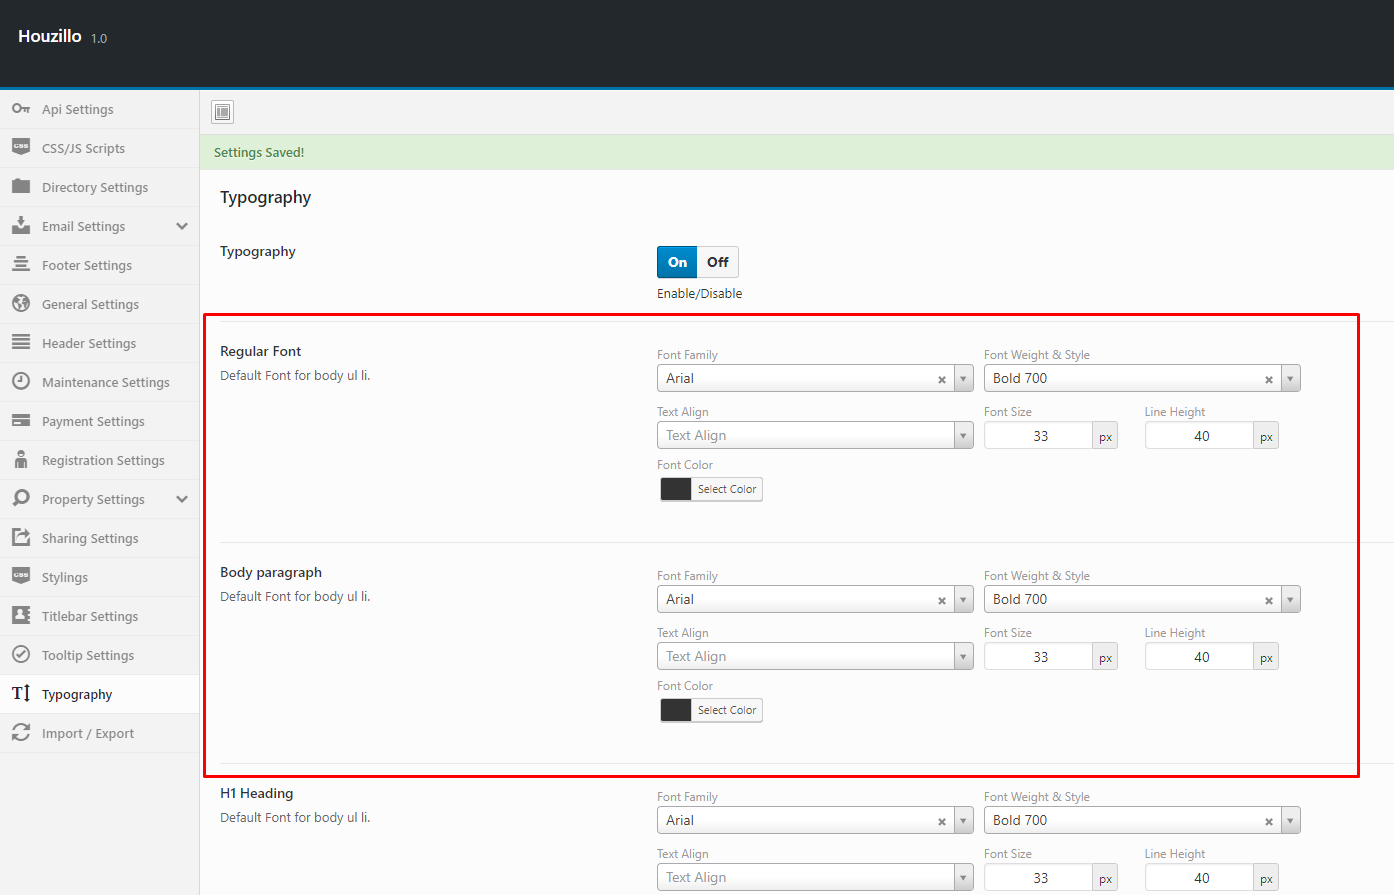
Typography Settings - Top
- You can add any typo to your contents, Just enable it and use font style, size and family etc.
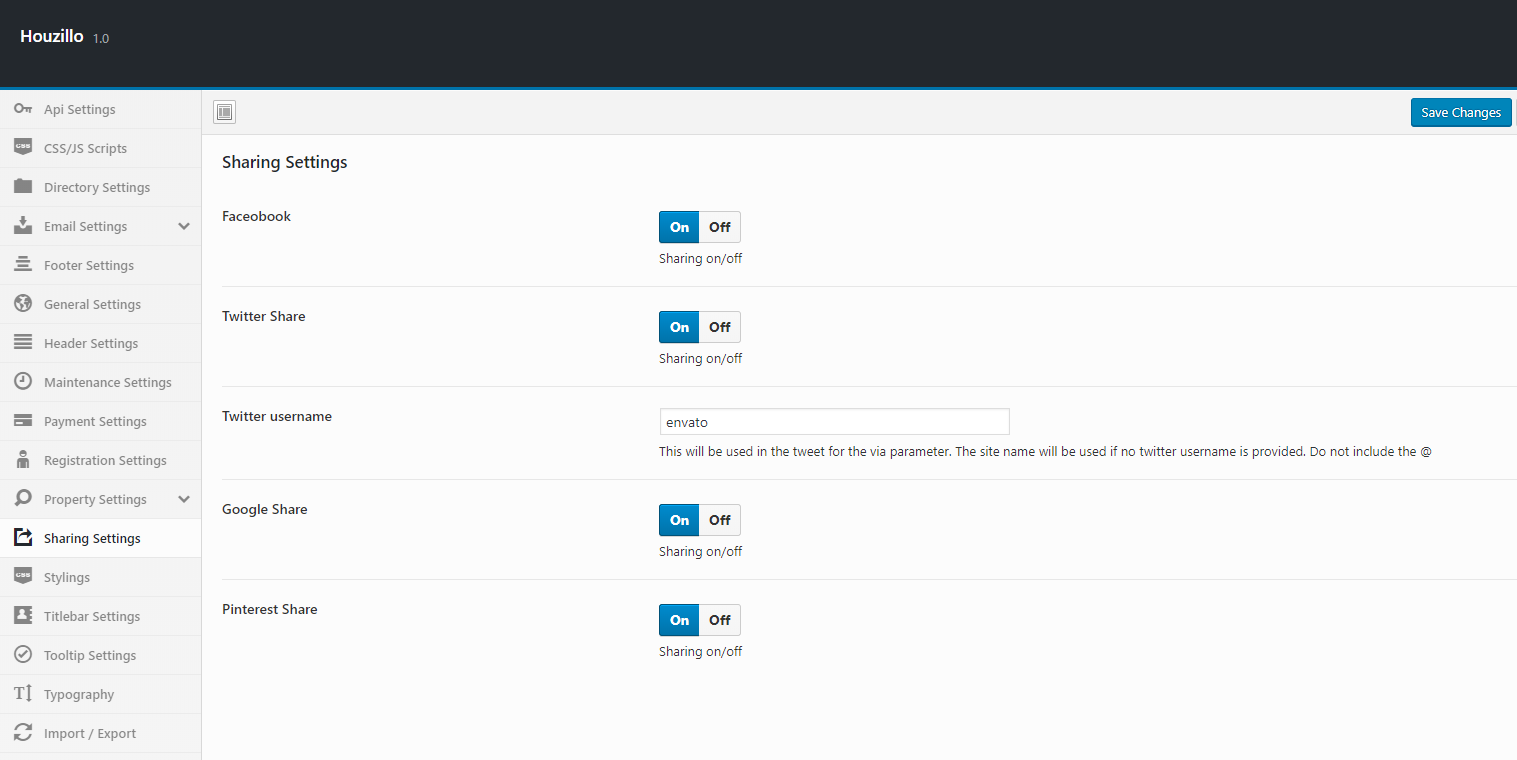
Sharing Settings - Top
- Please enable or disbale social sharing links which will be at blogs and users detail pages.
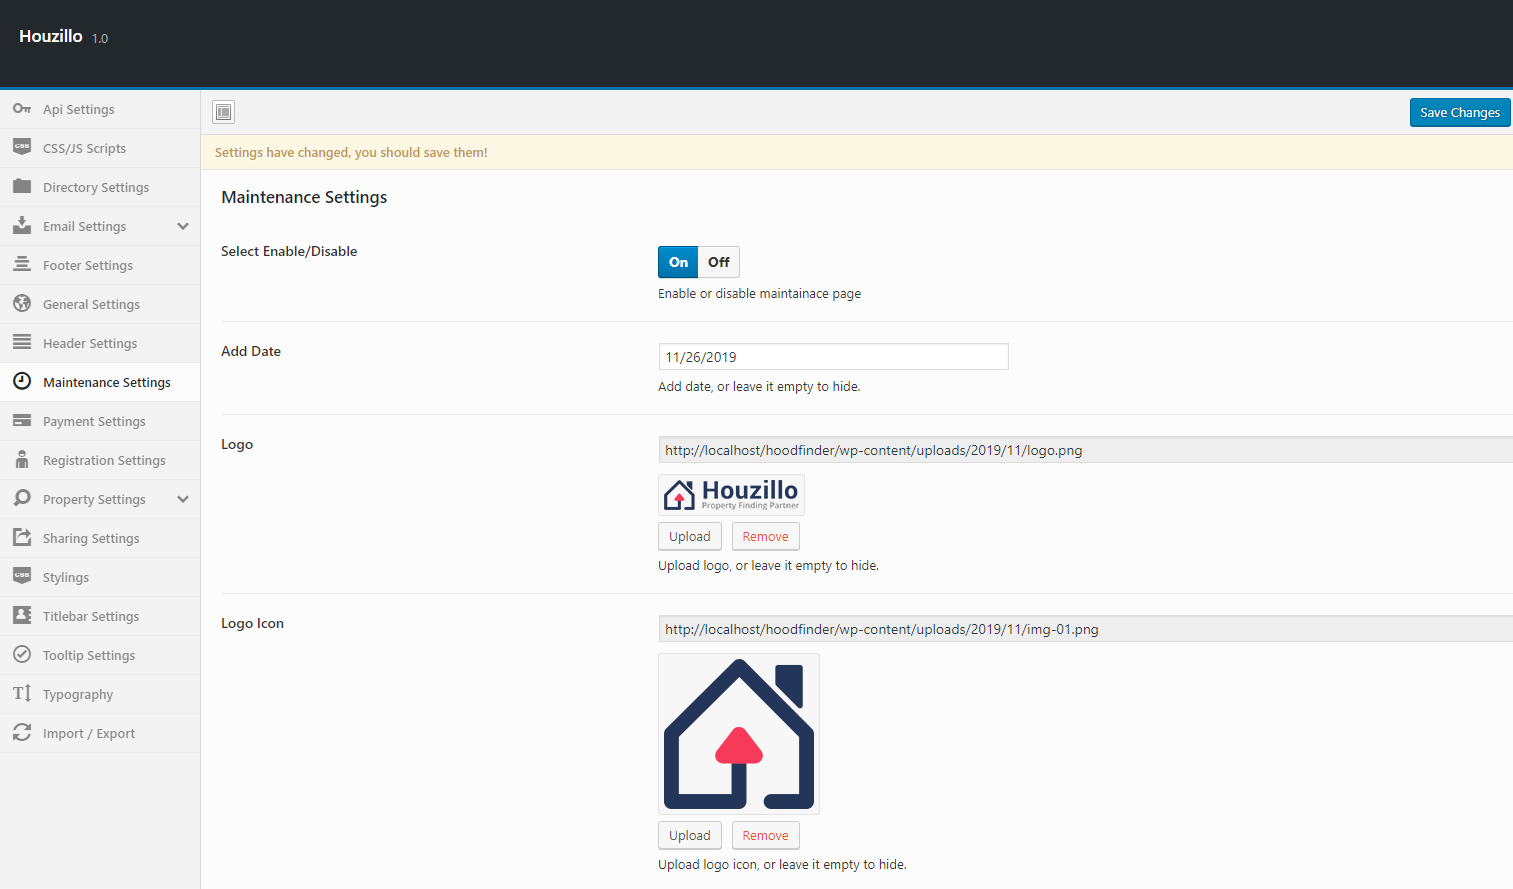
Coming Soon - Top
If your site is under construction or something had happened this option will help you preventing your site going live.
Remember this option will only work when the user is not logged in- Enable or disable the maintenance mode.
- Add date for the counter.
- Add logo.
- Add transparent logo.
- Add title.
- Add sub title.
- Add description.
- Enable or disable signup form.
- Add signup form title.
- Add gallery images, which is a slider. Or leave it empty to hide.
- Add copyright text.
- Add social media links.
APIs - Top
- You can add setting of Google.
Google - Top
Very Important !
Please note : There can be a google map API key in the demo contents. We suggest you to please change google map API key before use google maps. Otherwise google maps may stop after some time if you didn't change API key. To change google map API key go to Theme Settings > API Settings > Google Maps
Enter google map key here. It will be used for google maps. Get and Api key From Get API KEY
MailChimp - Top
Enter mailchimp key here. It will be used for google maps. Get and Api key From Get API KEY
You can create the list here Get API KEY
Twitter - Top
You can add
- Consumer Key
- Consumer Key Secret
- Access Token
- Access Token Secret

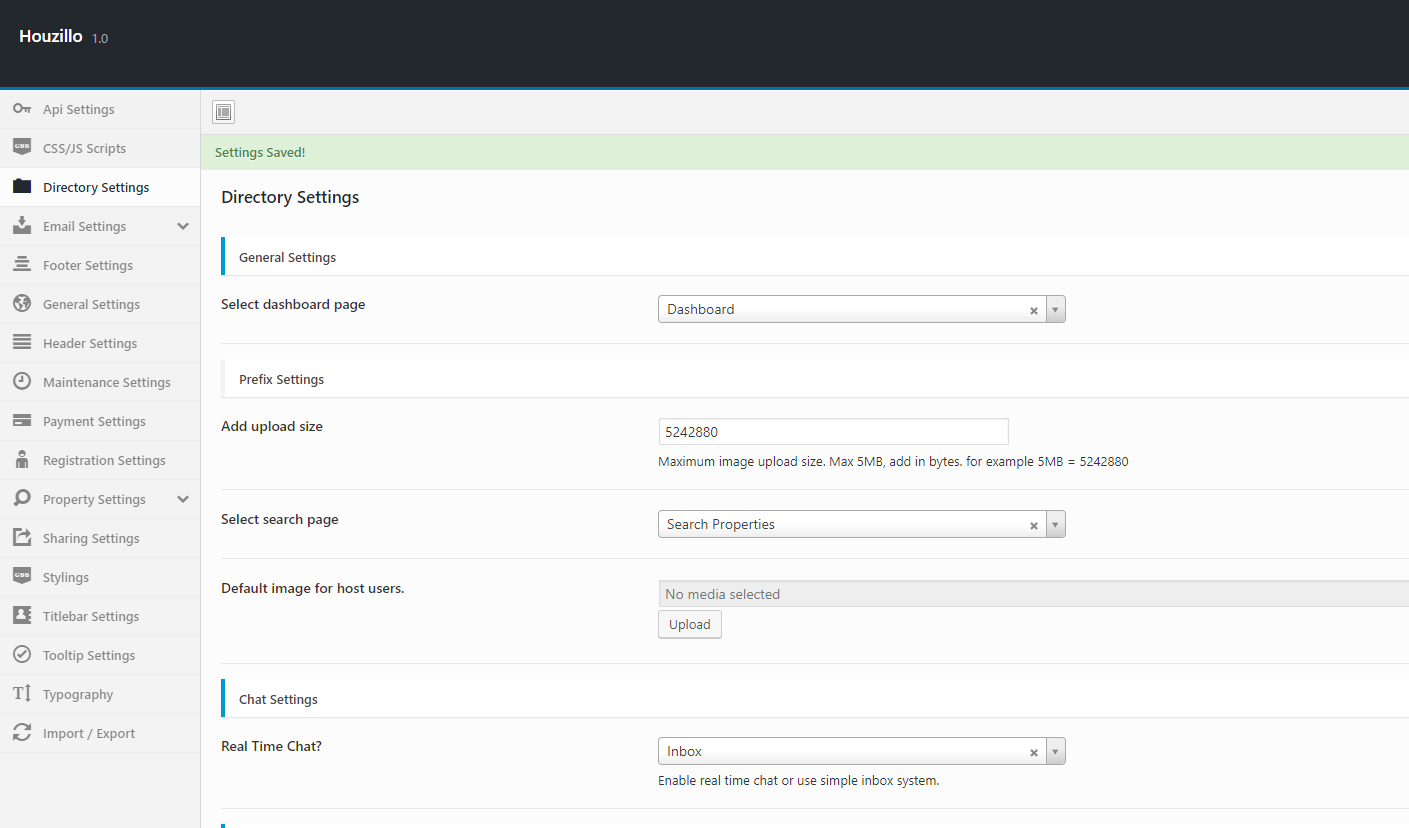
Directory setting - Top
In this panel admin can control all the dashboard settings. Admin can manage dashboard settings, search pages, property and real time chat settings.
There are also map settings.
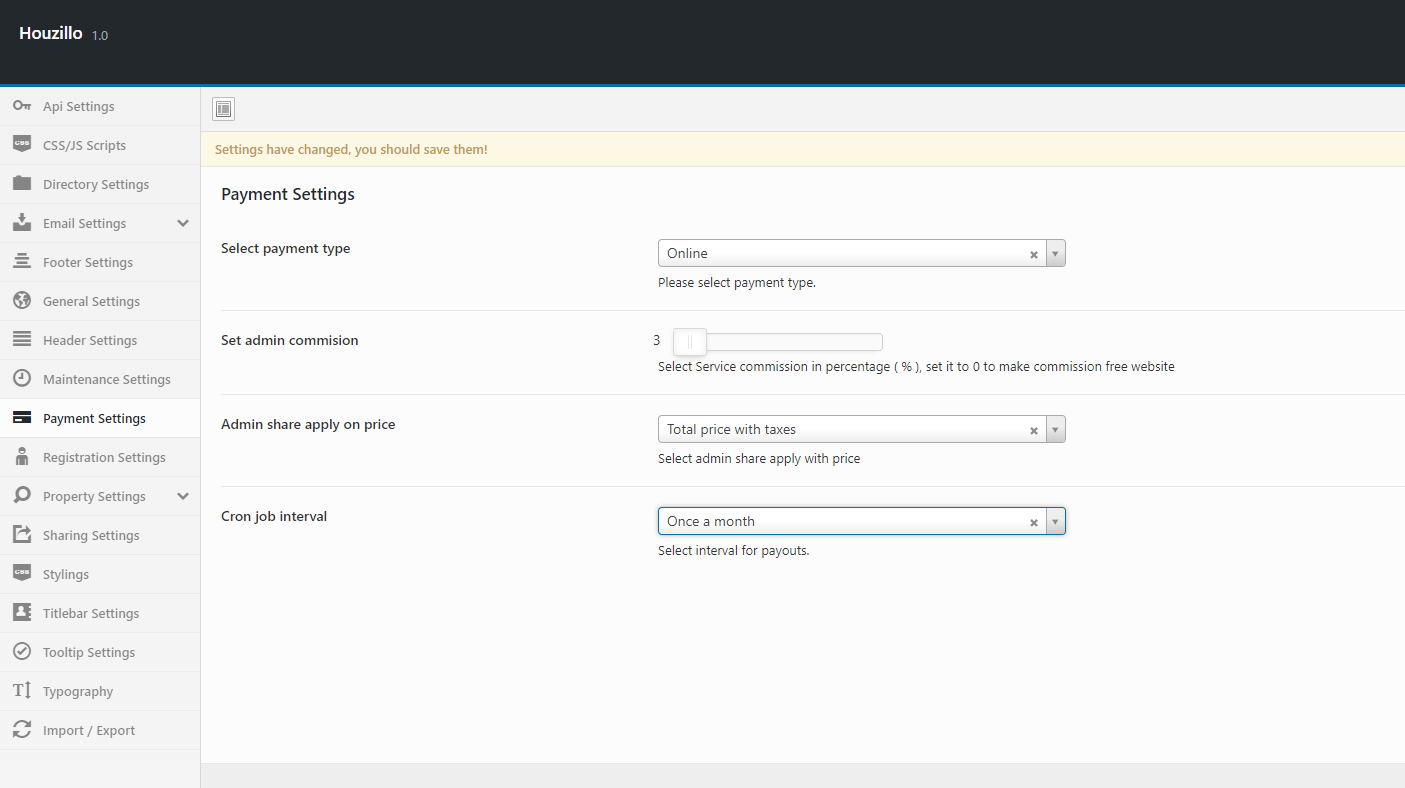
Payment setting - Top
Payment settings have the following options
- Select payments type.
- Set admin comission.
- Select admin share apply on price.
- Select Cron job interval. Note : After save cron job interval you will need to deactivate and then active the Houzillo Cron Plugin (for save intervals in wp cron job)
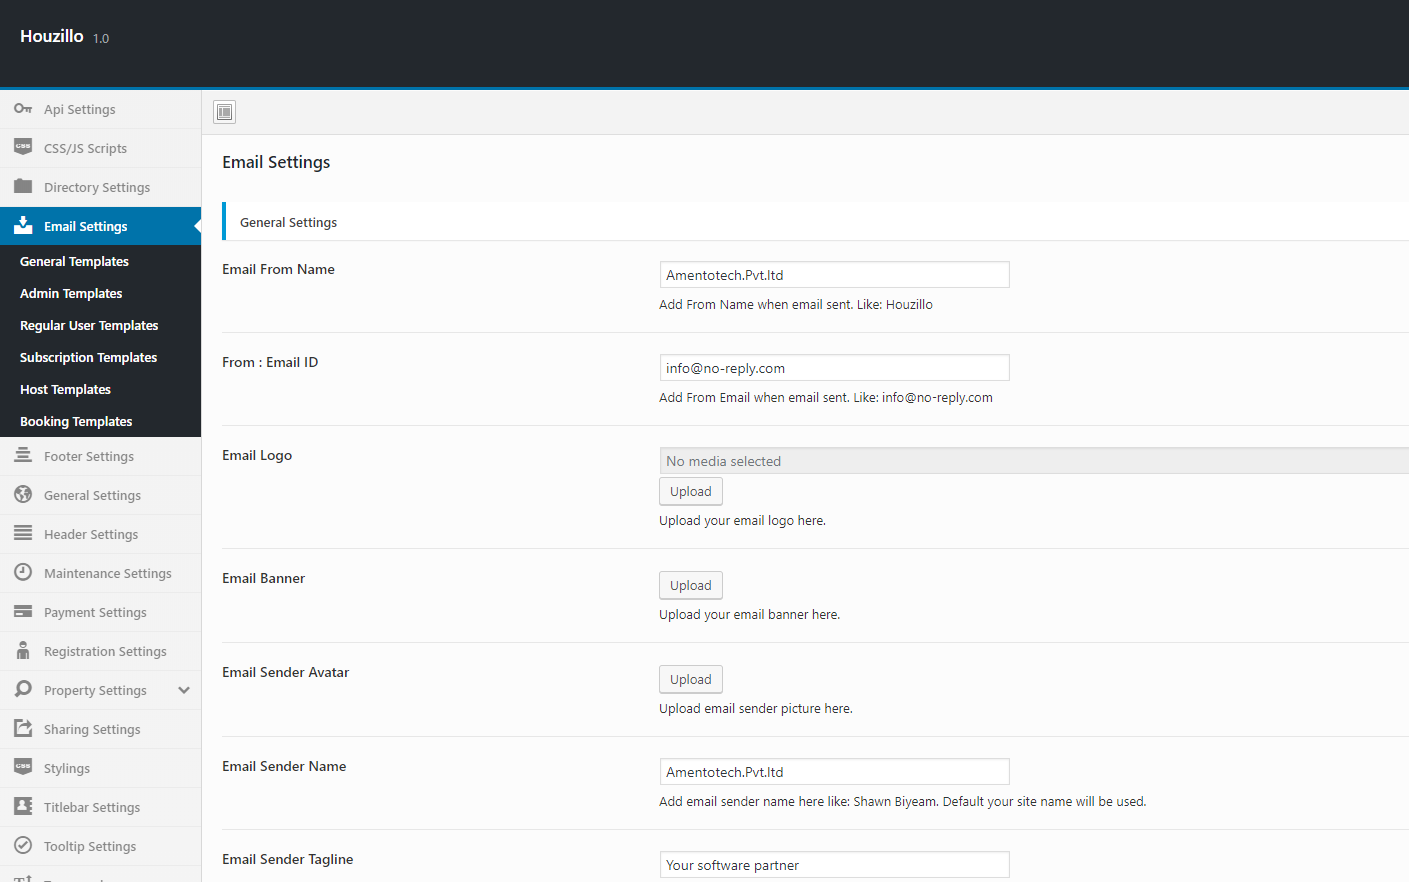
Email setting - Top
In email settings you can update email basic options and also change the templates of emails for example general, admin, regular, subscription, host and booking templates.
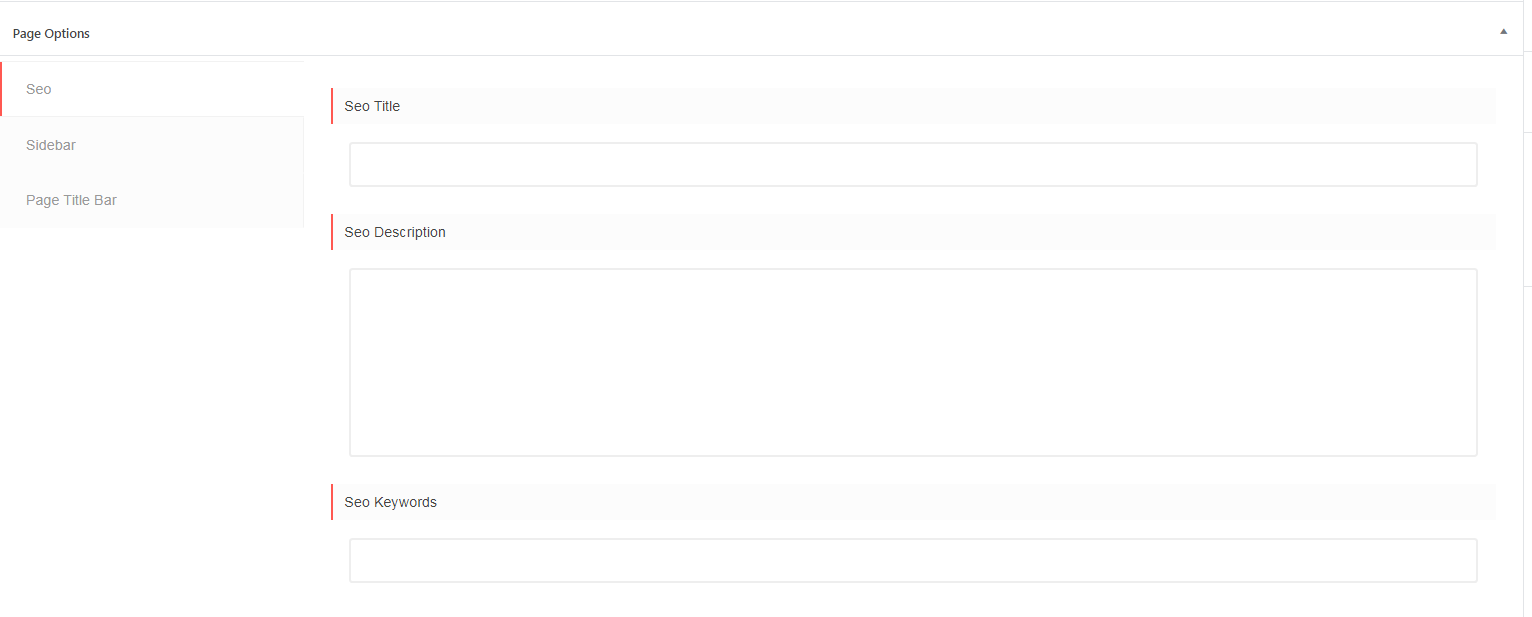
Page Options - Top
Page options of the theme includes
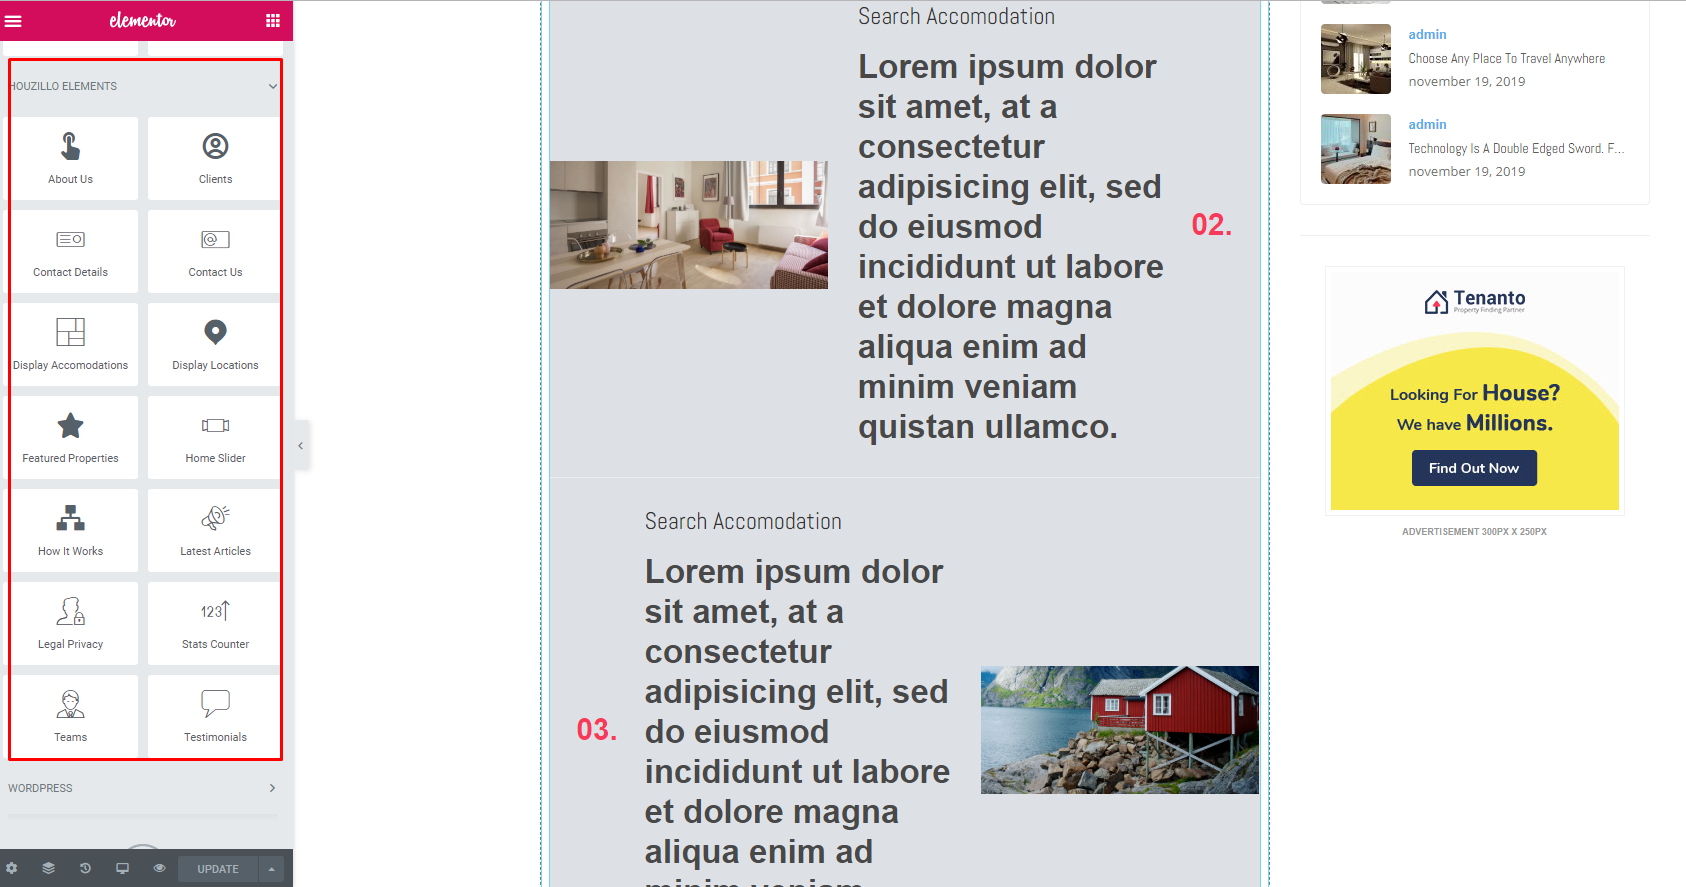
- This theme supports Elementor.
- Just Install required plugins, and go to Add New Page.
- Click on the Edit with Elementor for adding the content.
- Page settings include the seo, sidebar and page title bar setting for custom page.

Post Options - top
You can set options and title bar setting for your post detail page. 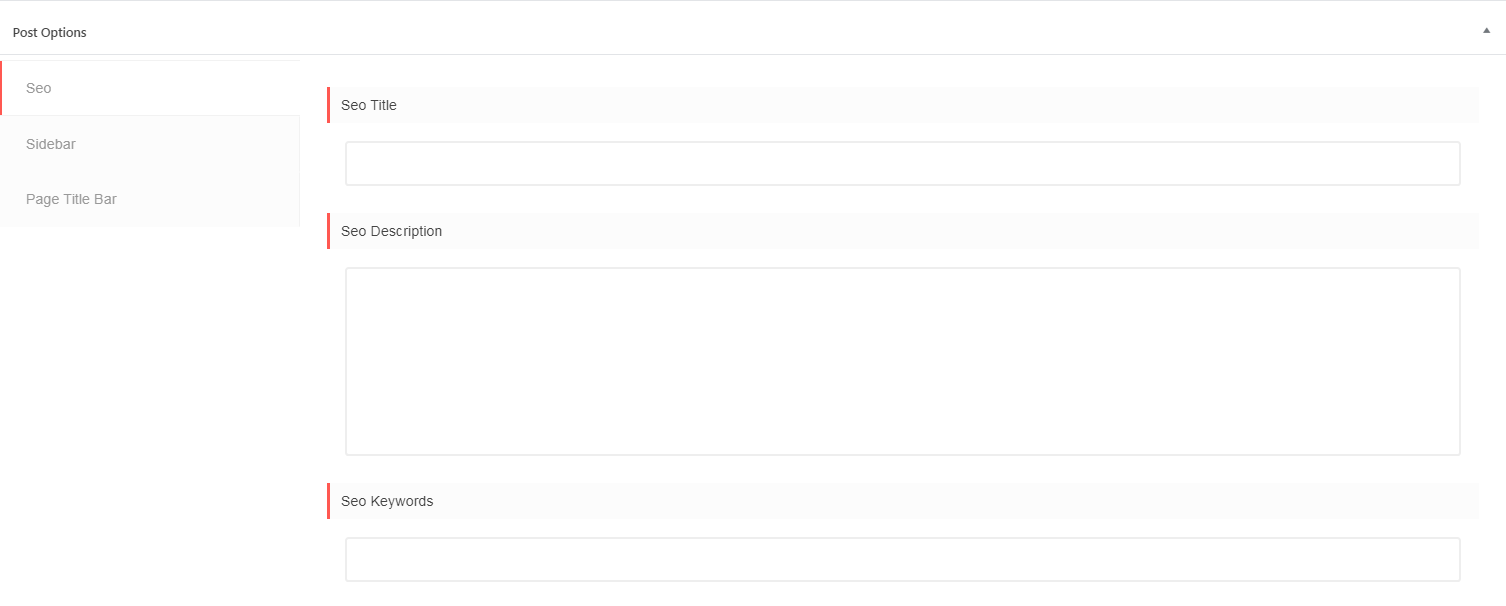
Articles - top
How to set up search, dashboard page?
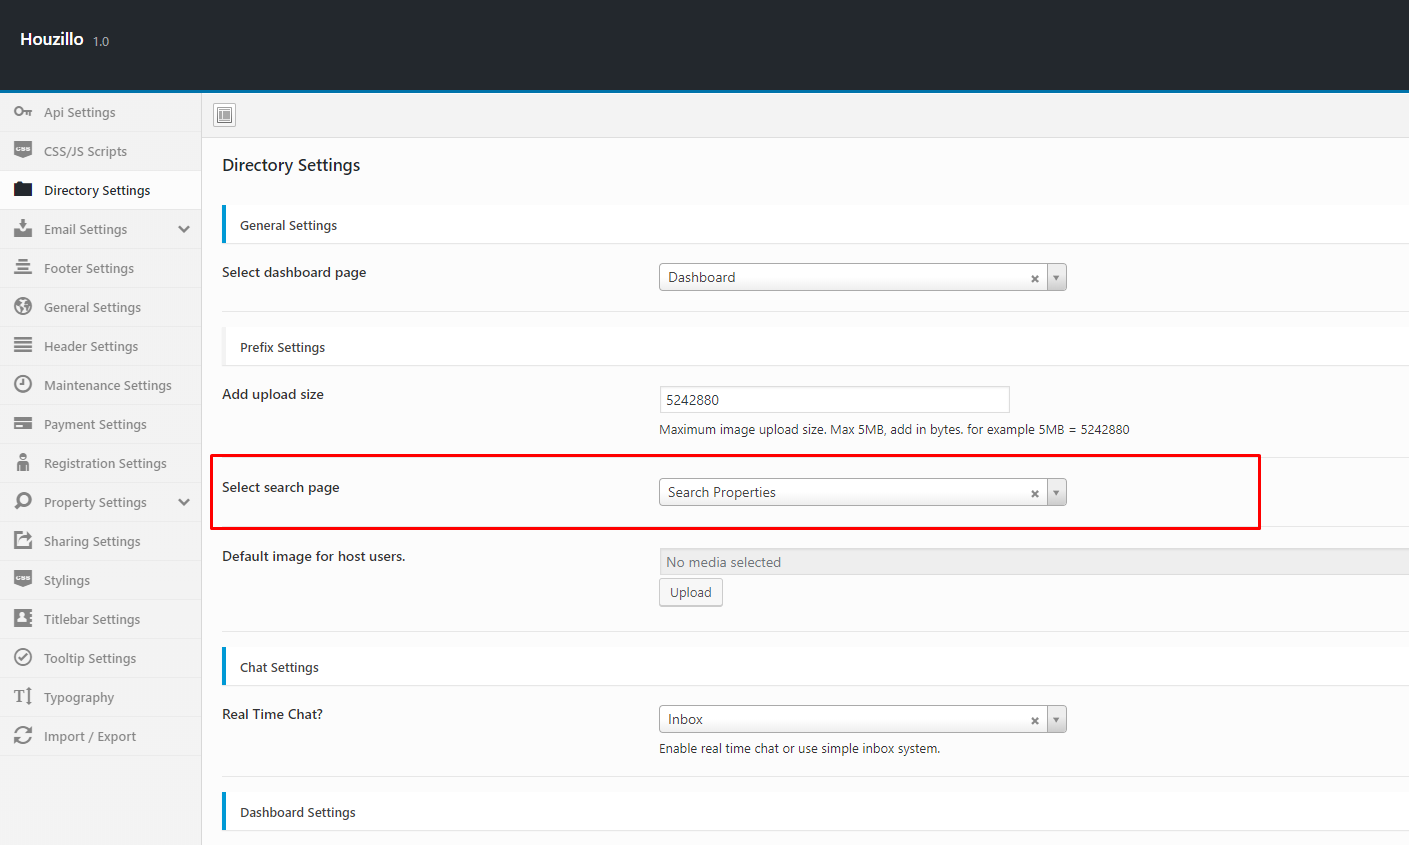
Set up search Properties page
To setup properties page needs the following steps
- Create a page and assign the "Search Properties" template.
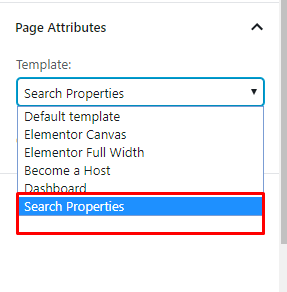
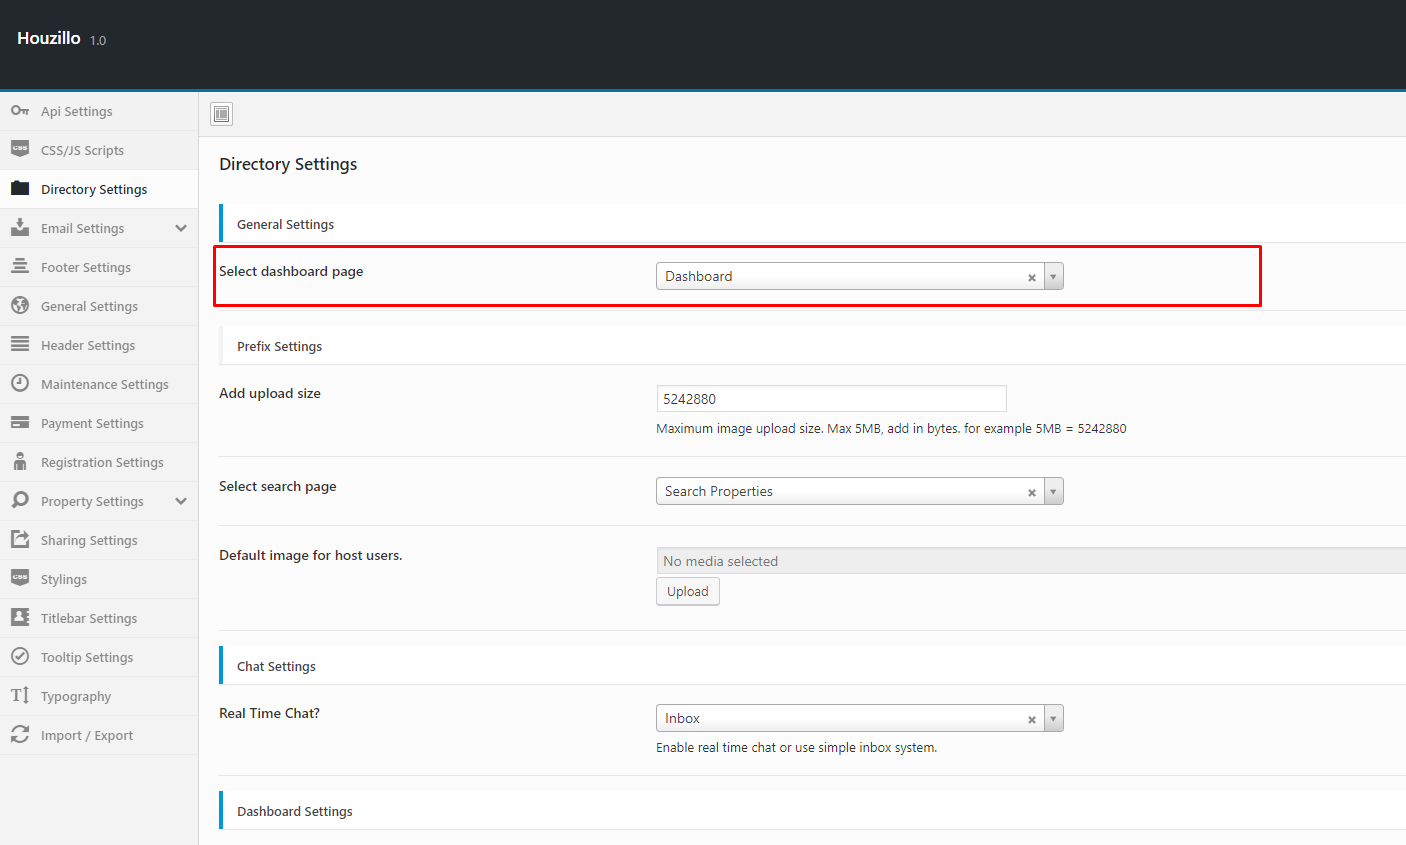
- Navigate to Theme Settings > Directory Settings > Choose Property Search Page and select the created page that has been assigned the "Search Properties" template.
Setup Dashboard page
To setup dashboard page follow the steps given below
- Navigate to Theme Settings > Directory Settings Choose Dashboard Page and select the created page that has been assigned the "Dashboard" template.
How to setup booking process?
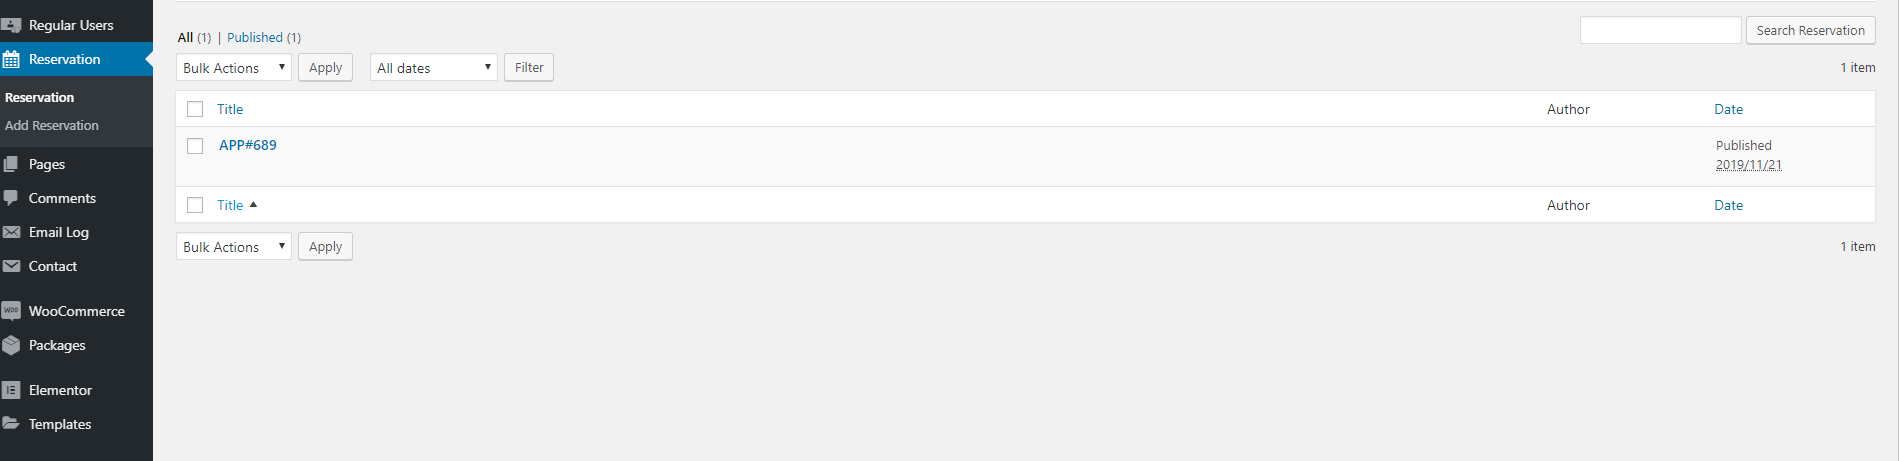
Reservations/Bookings
Booking listing can be managed by the admin.
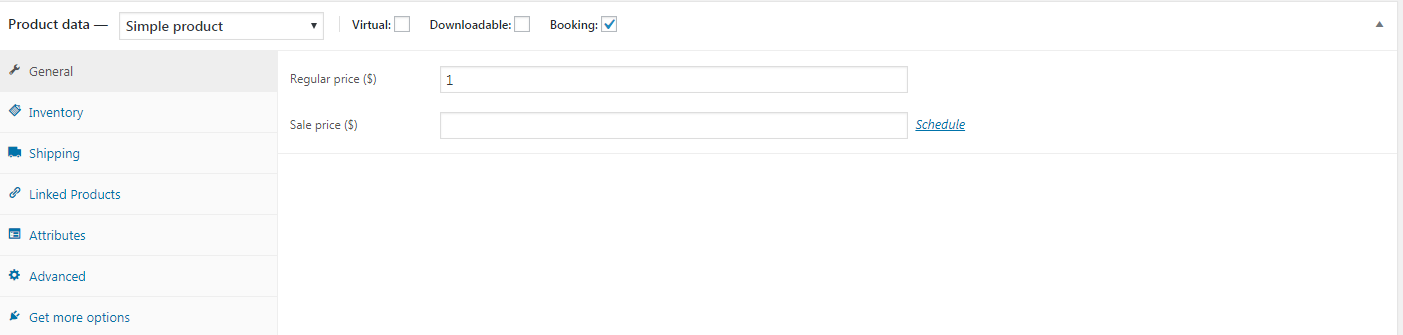
Property booking process have the following steps
- Create a package/product
- Check "Booking" in product data that will be used to make the payment for the property.
- Set Regular price to 1.
How payouts/vault is working?
- After property booking process, the status of host's amount is listed in Admin Dashboard > Hosts > Earning.
- When the property booking process is completed, the status of earing is changed to completed.

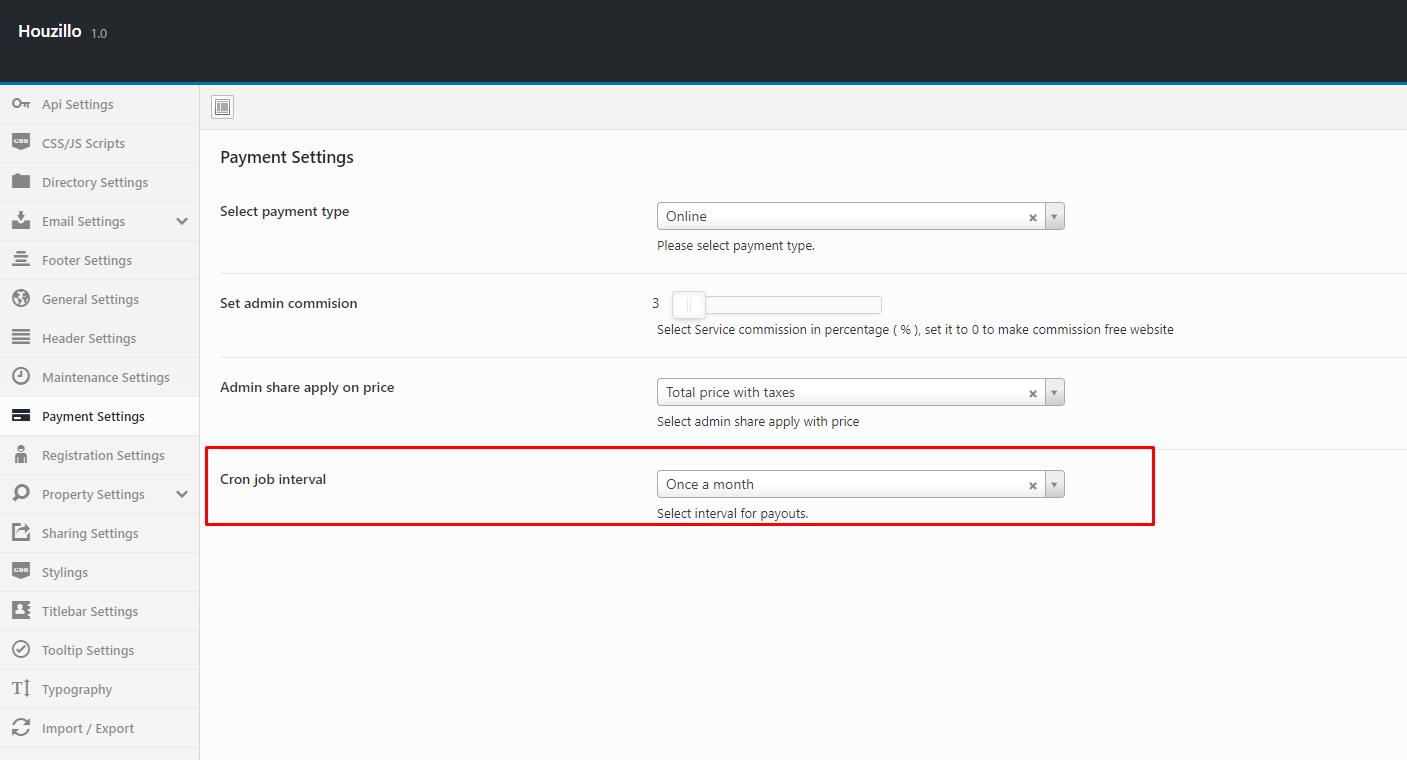
- For payouts, we need to set cron job interval to run the cron job as "once a monthly, once a weekly or once a day" in admin Theme Settings > Payment Settings. After that need to set cron job from cpanel for root folder cron.php file.
- Cron change the status of earing completed to "processed" and copy to payout table. We will see in admin > houzillo > Payouts.
Note : After change of cron job interval we need to deactivate and then active the Houzillo Cron Plugin (for save intervals in wp cron job) 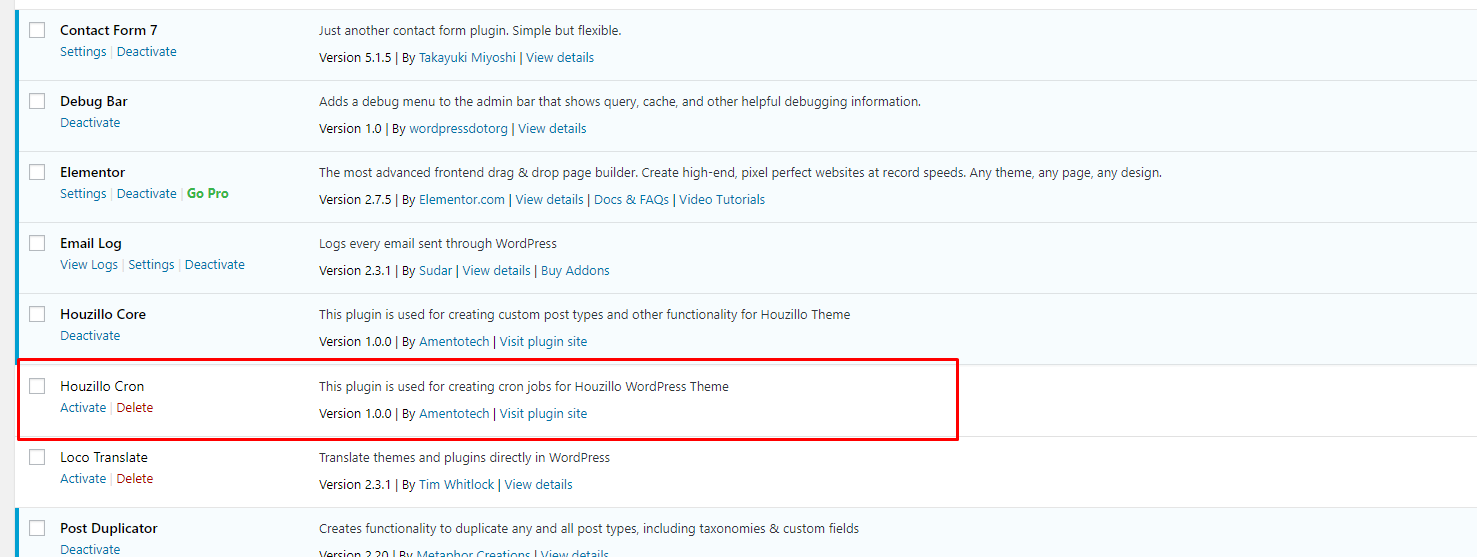
Payout host user need to check the payment method and email address.
Since version 1.0 - top
Released on 24 February, 2020
- Released Houzillo – Property Directory Wordpress Theme.